Light Painting: A Creative Way to Explore Long Exposures in Your Photo Class
Nov 07, 2026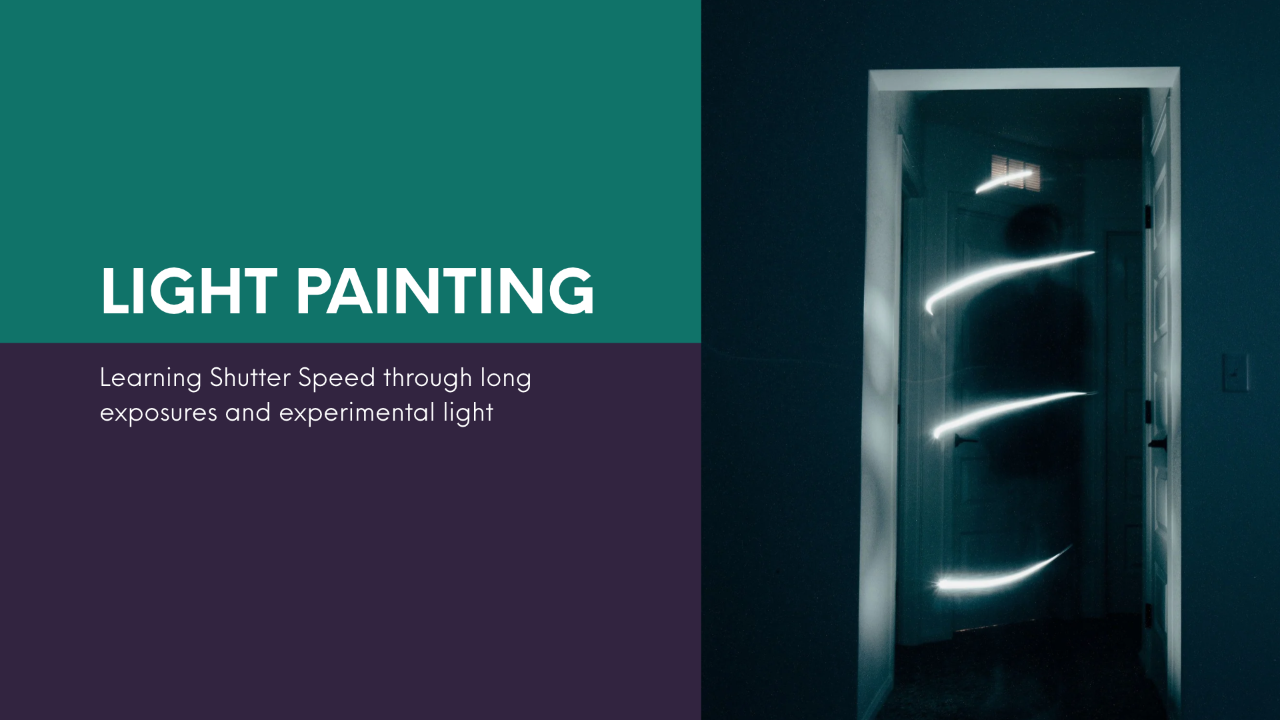
Did you know that your students can draw with light? They can create glowing shapes in the air and illuminate a subject in complete darkness, all without Photoshop...
Light painting is one of my favorite ways to get students interested in how shutter speed works because it gives students an opportunity to experiment with long exposures while creating photographs that feel almost magical.
And the best part is that you don't need expensive studio lighting equipment to make it happen! A DSLR camera, a tripod, and a few flashlights (including the ones on students' phones) are enough to get started.
What Is Light Painting?
Light painting is a photography technique that uses an extremely long exposure and a moving light source to create patterns, light trails, or selectively illuminate subjects. We do this with what I refer to as Pin lighting, Broad lighting, and Mixed lighting.
Normally, I teach my students to look through their viewfinder and read the exposure meter, adjusting their settings to get a "good" exposure - in fact, most photographers do this and set their shutter speed first making sure they have a faster shutter to freeze motion and reduce unwanted blur.
But with light painting, we do the opposite. I tell my students to completely ignore the exposure meter because it will always be wrong.
An exposure meter reads existing light that bounces off the scene we are photographing. When our scene has no existing light, the exposure meter will start extremely underexposed and we ADD light to the image as our shutter stays open.
When we paint with light, we leave the shutter open for several seconds, the camera continues collecting light while your students move a flashlight or another light source through the scene.
Depending on where the light is pointed, students can create glowing lines (pin), illuminate objects (broad), or combine both effects (mixed) in a single capture, all in camera!
This makes light painting an excellent opportunity to reinforce the relationship between shutter speed, exposure, and movement.
Three Light Painting Techniques to Teach
I introduce students to three basic techniques: pin lighting, broad lighting, and mixed lighting.
1. Pin Lighting: Drawing With Light
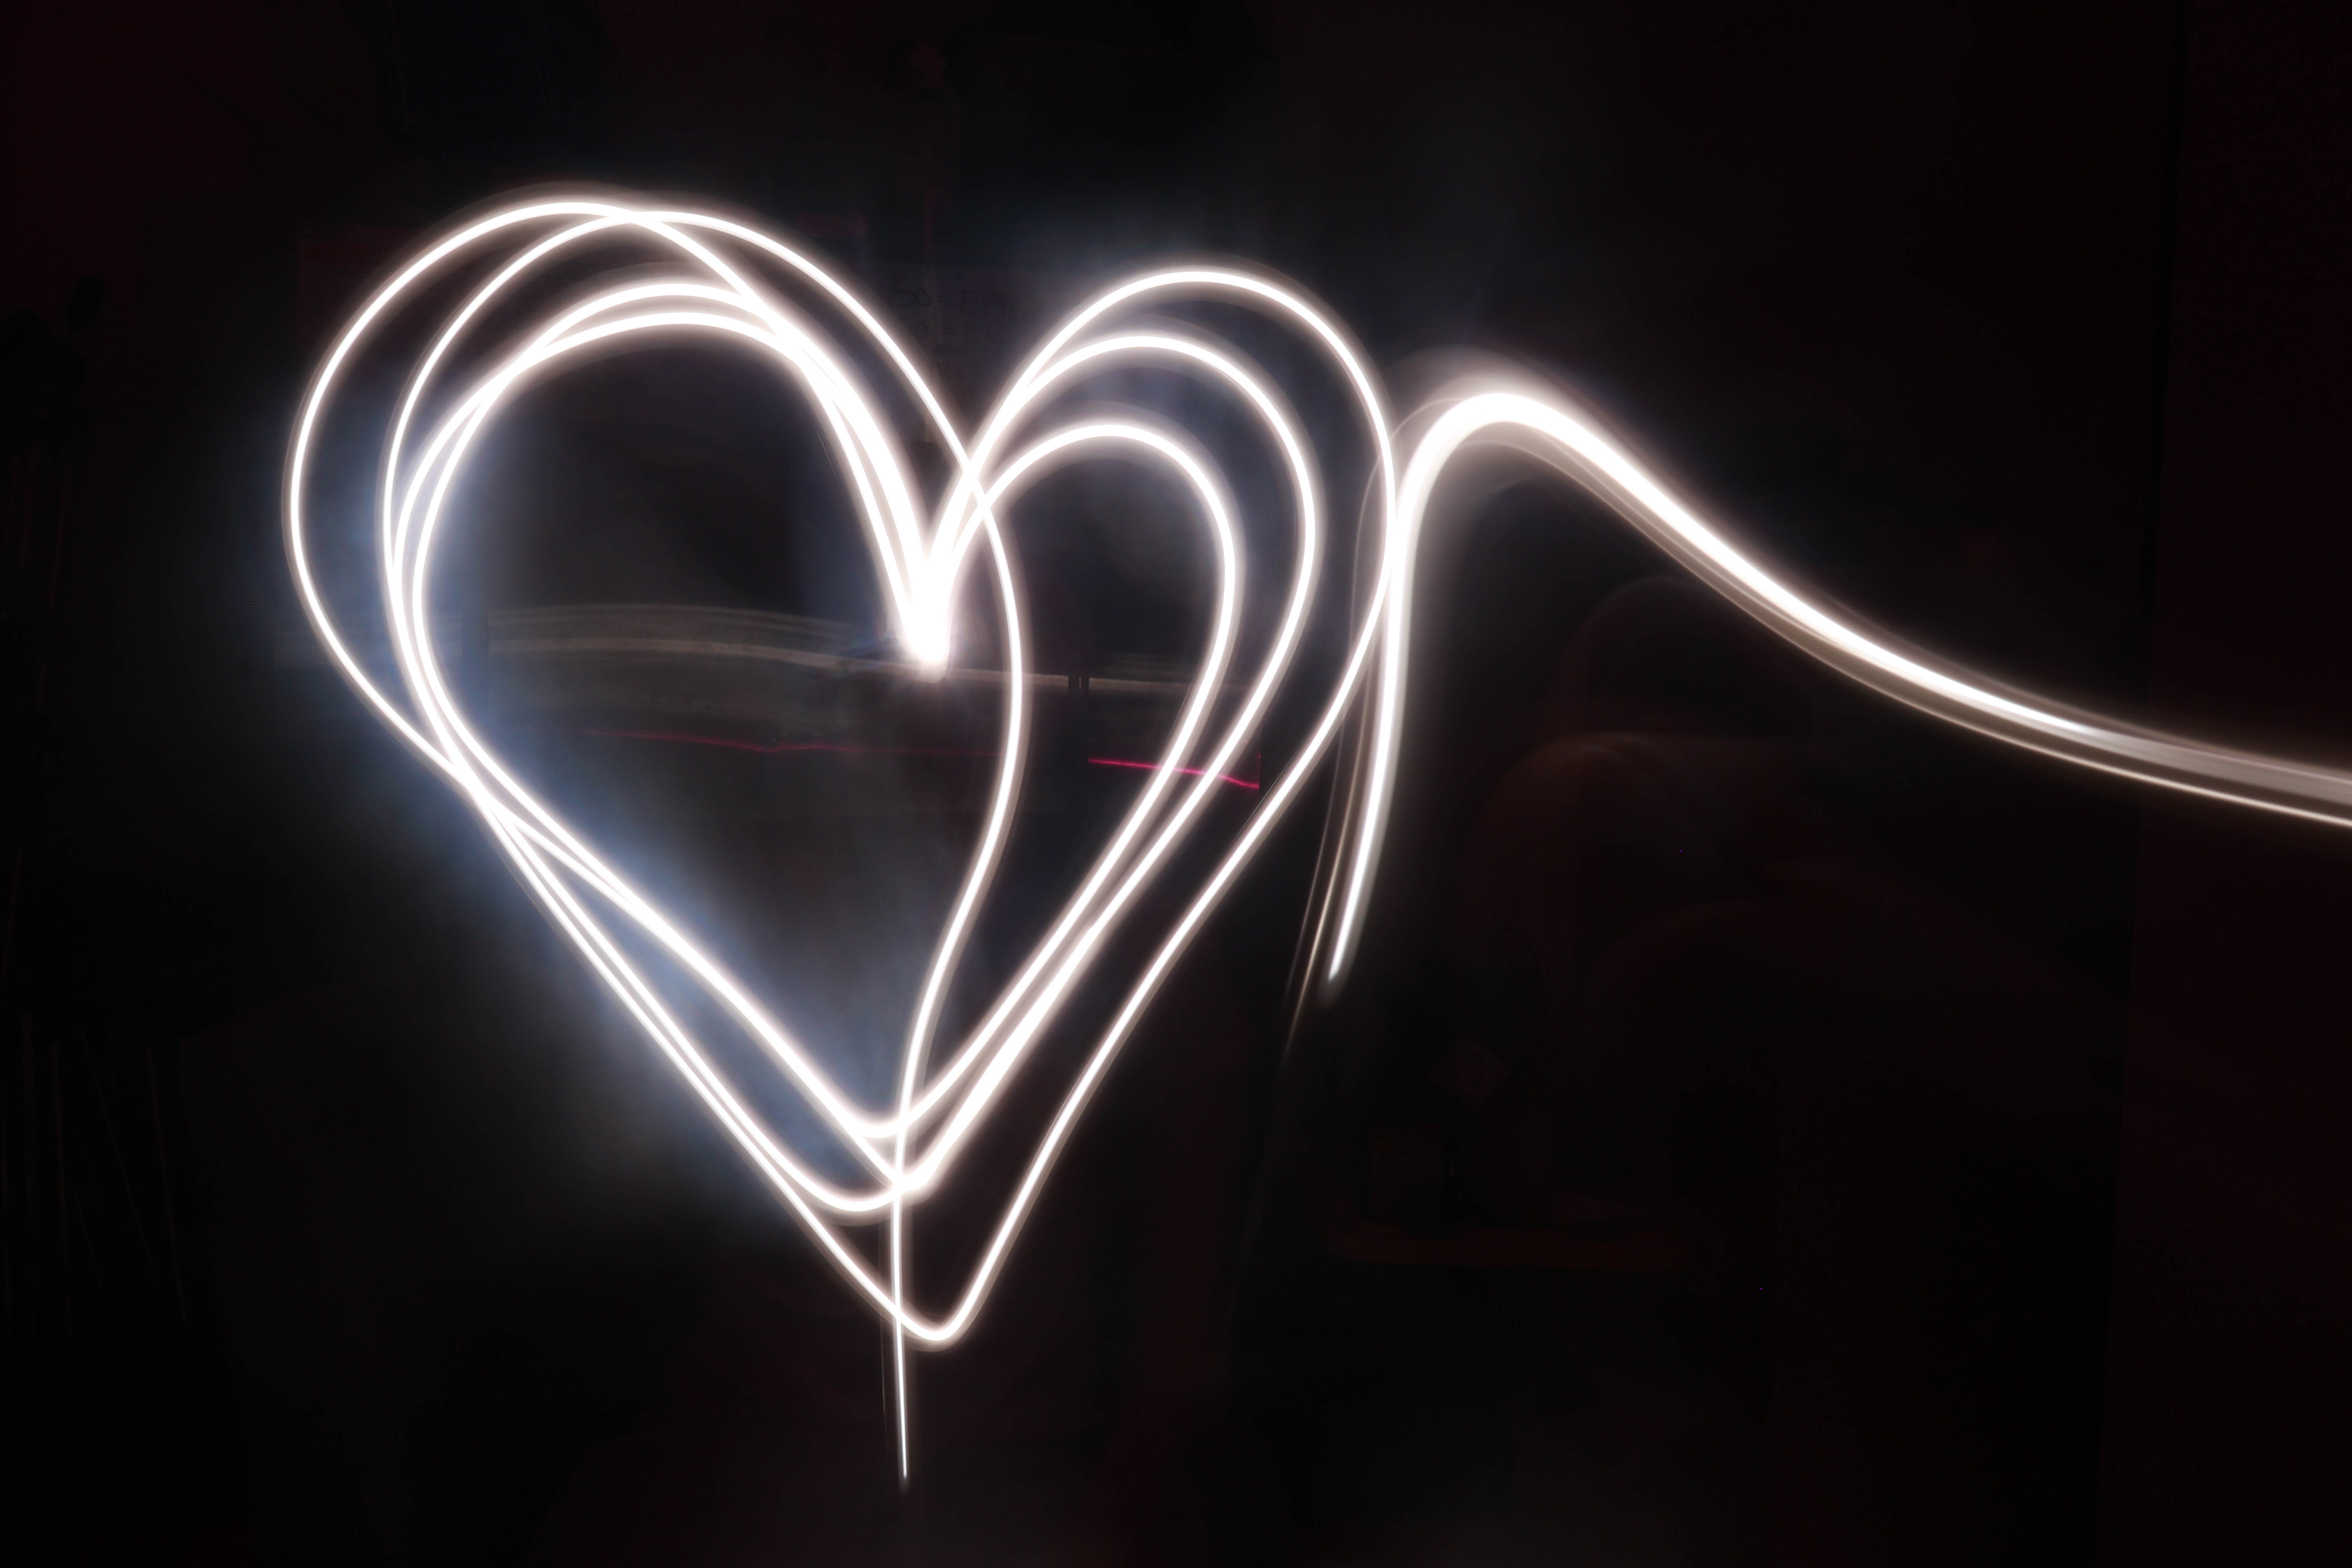
Pin lighting uses a (usually) small, concentrated light source to create visible lines, shapes, and patterns during a long exposure.
When students point any light source toward the camera and move it through the air, the camera records the path of the light - usually as a sharp line through the image.
The result might be a glowing heart, a spiral, a word, or an abstract design.
Try this: Have students use a small flashlight or phone light to draw a simple shape while the camera records a 10-second exposure.
Students quickly discover that the speed and direction of their movements affect the final image.
Note: Any light that is pointed AT the camera becomes "pin" lighting, even if it's a large light source like a light wand. Think about the sun - this is a massive light source, but when we look directly at it (don't do that actually), it looks like a small light source.
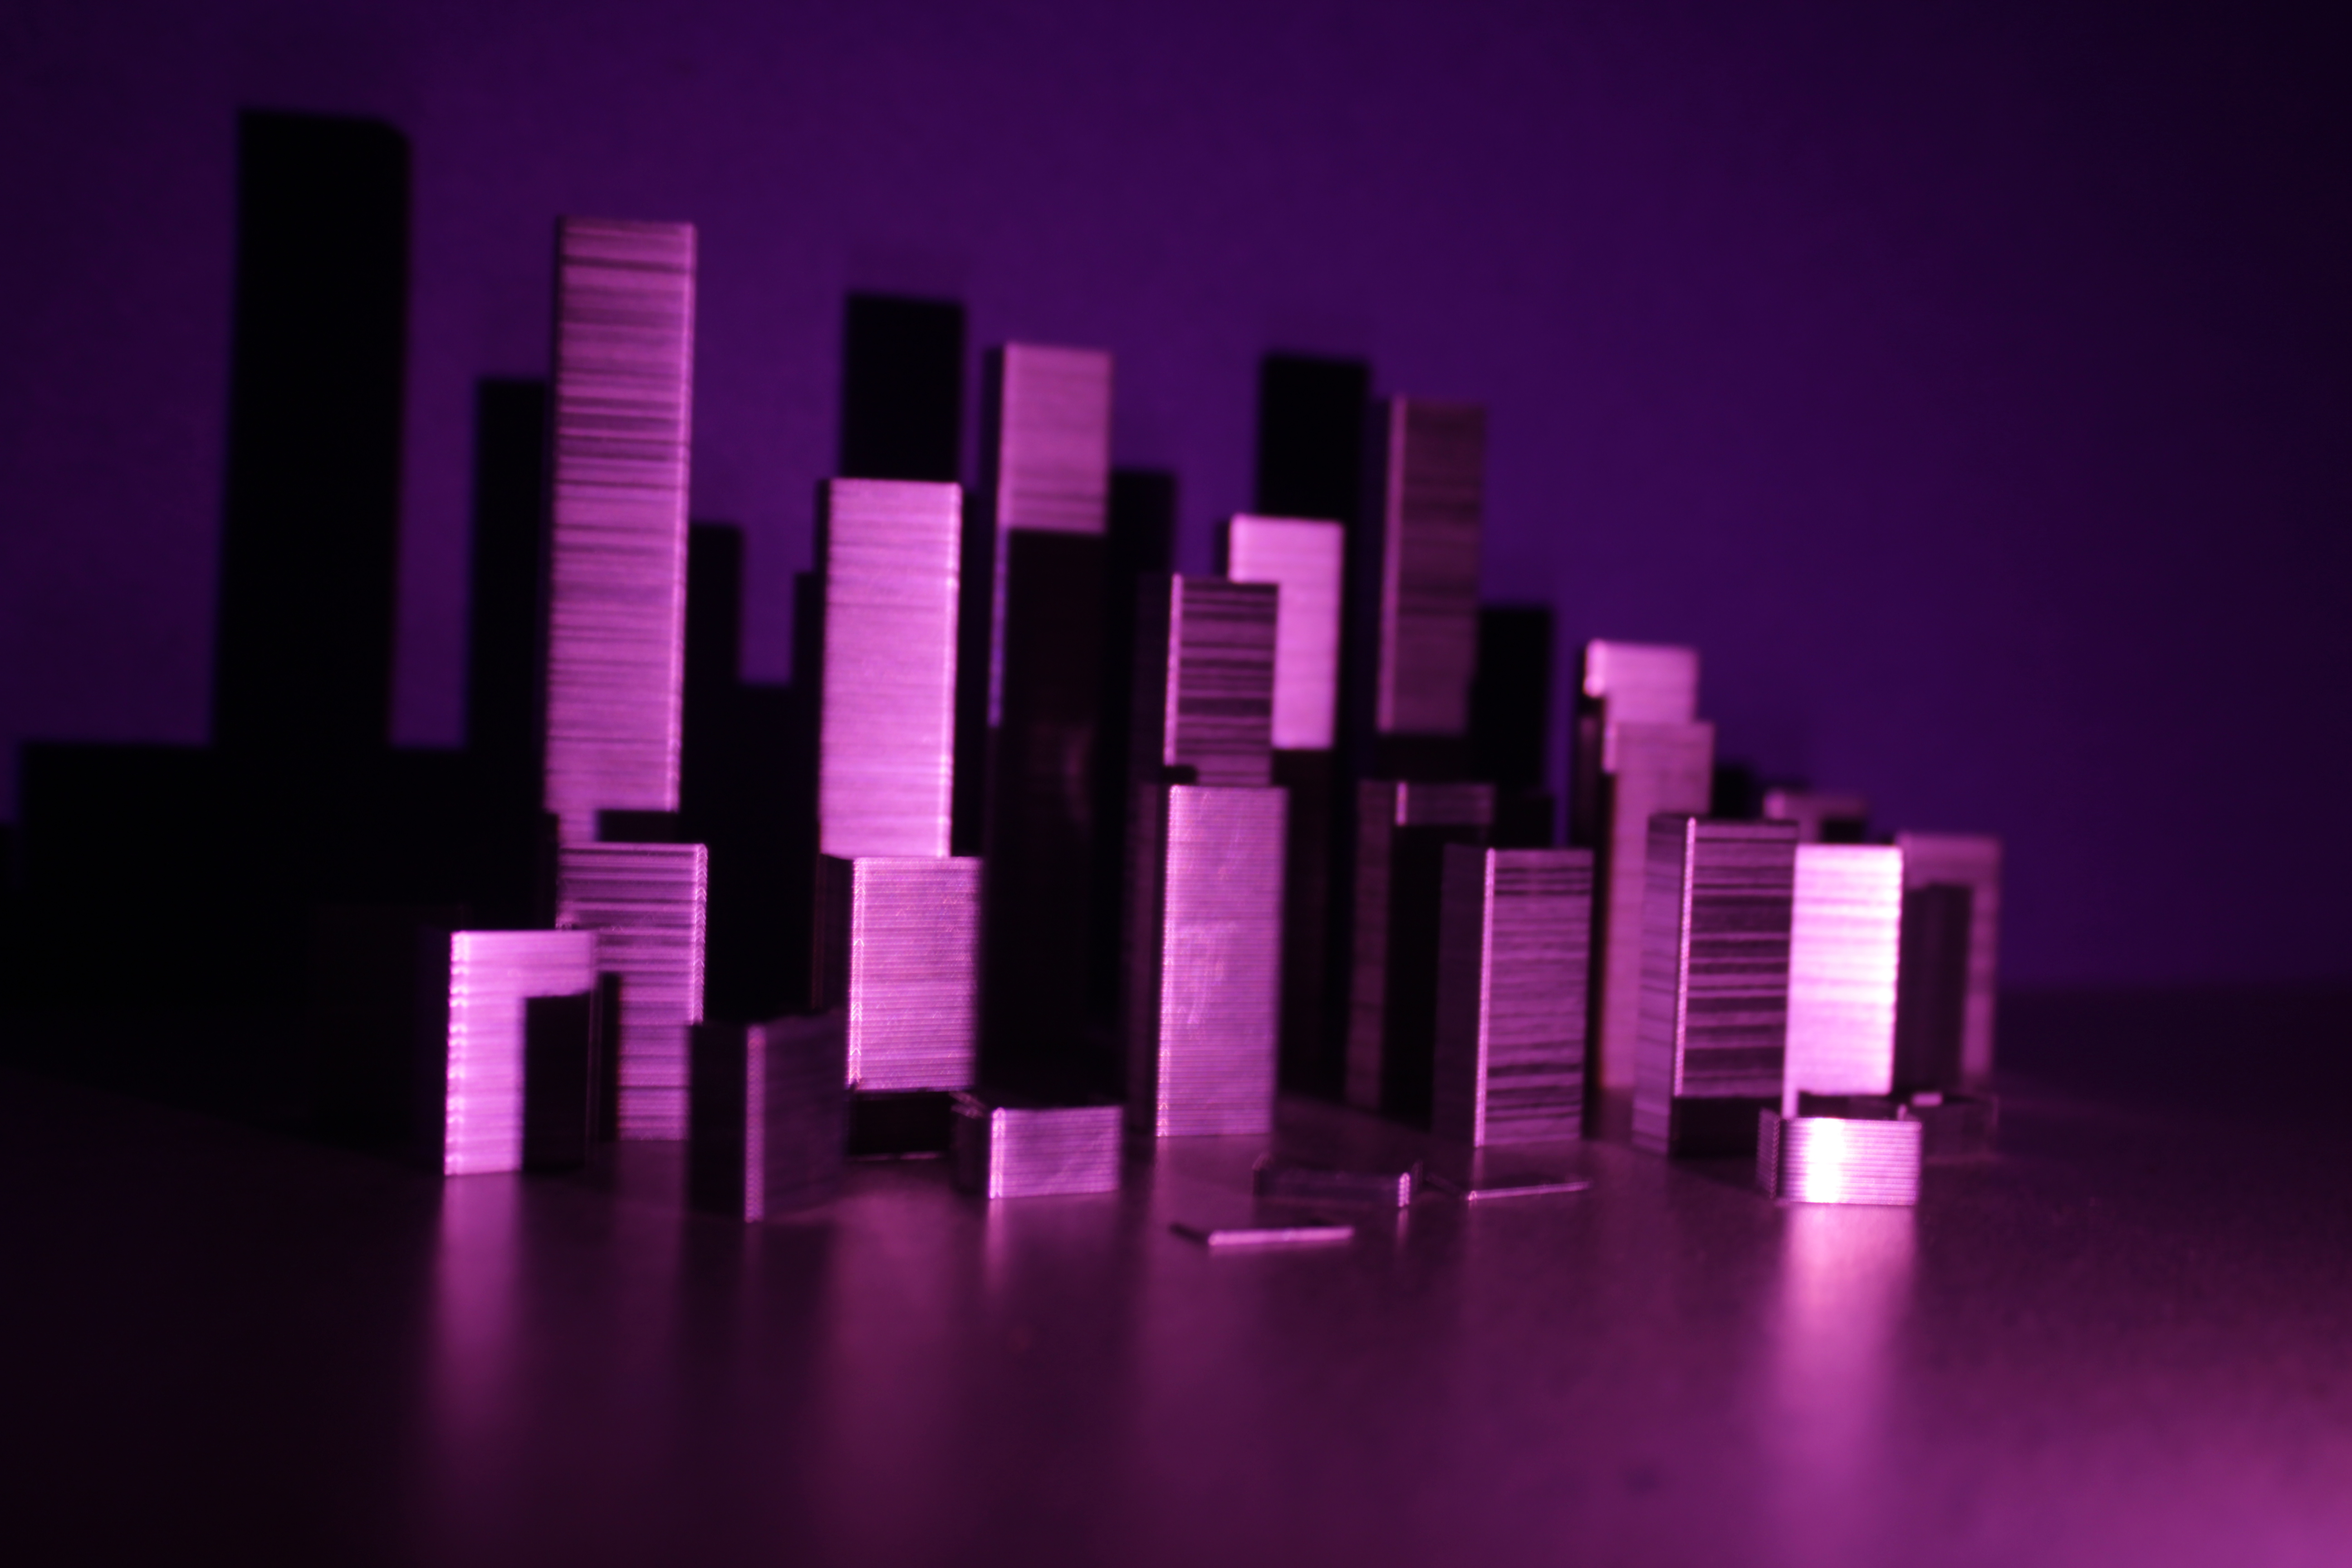
2. Broad Lighting: Illuminating a Subject
Broad lighting is the opposite. Instead of pointing the flashlight toward the camera, students point it toward a subject or a background. They can choose to keep this light source still or move it to see the effects.
The camera records the light reflecting off the subject or the background, gradually revealing parts of the scene.
Students can illuminate a portrait, a still life, an object or a background in an otherwise dark environment.
Try this: Place an object in a dark room and have students point a flashlight at it during a long exposure. Challenge them to illuminate the entire object evenly without making any areas too bright.
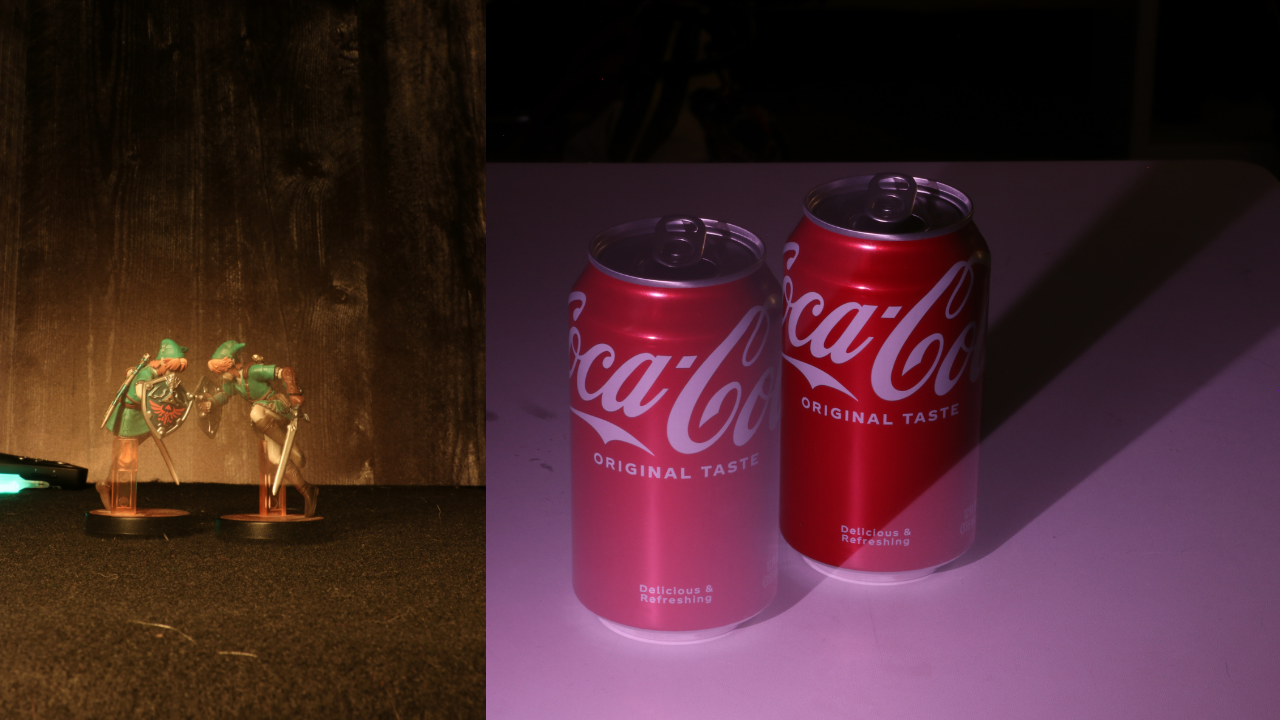
Fun Challenge: Have students light their object with a flashlight in one location, turn the light off and then move the object and light it up again in a second location to create a duplicate or ghosted object! This may require a longer exposure than other ideas.
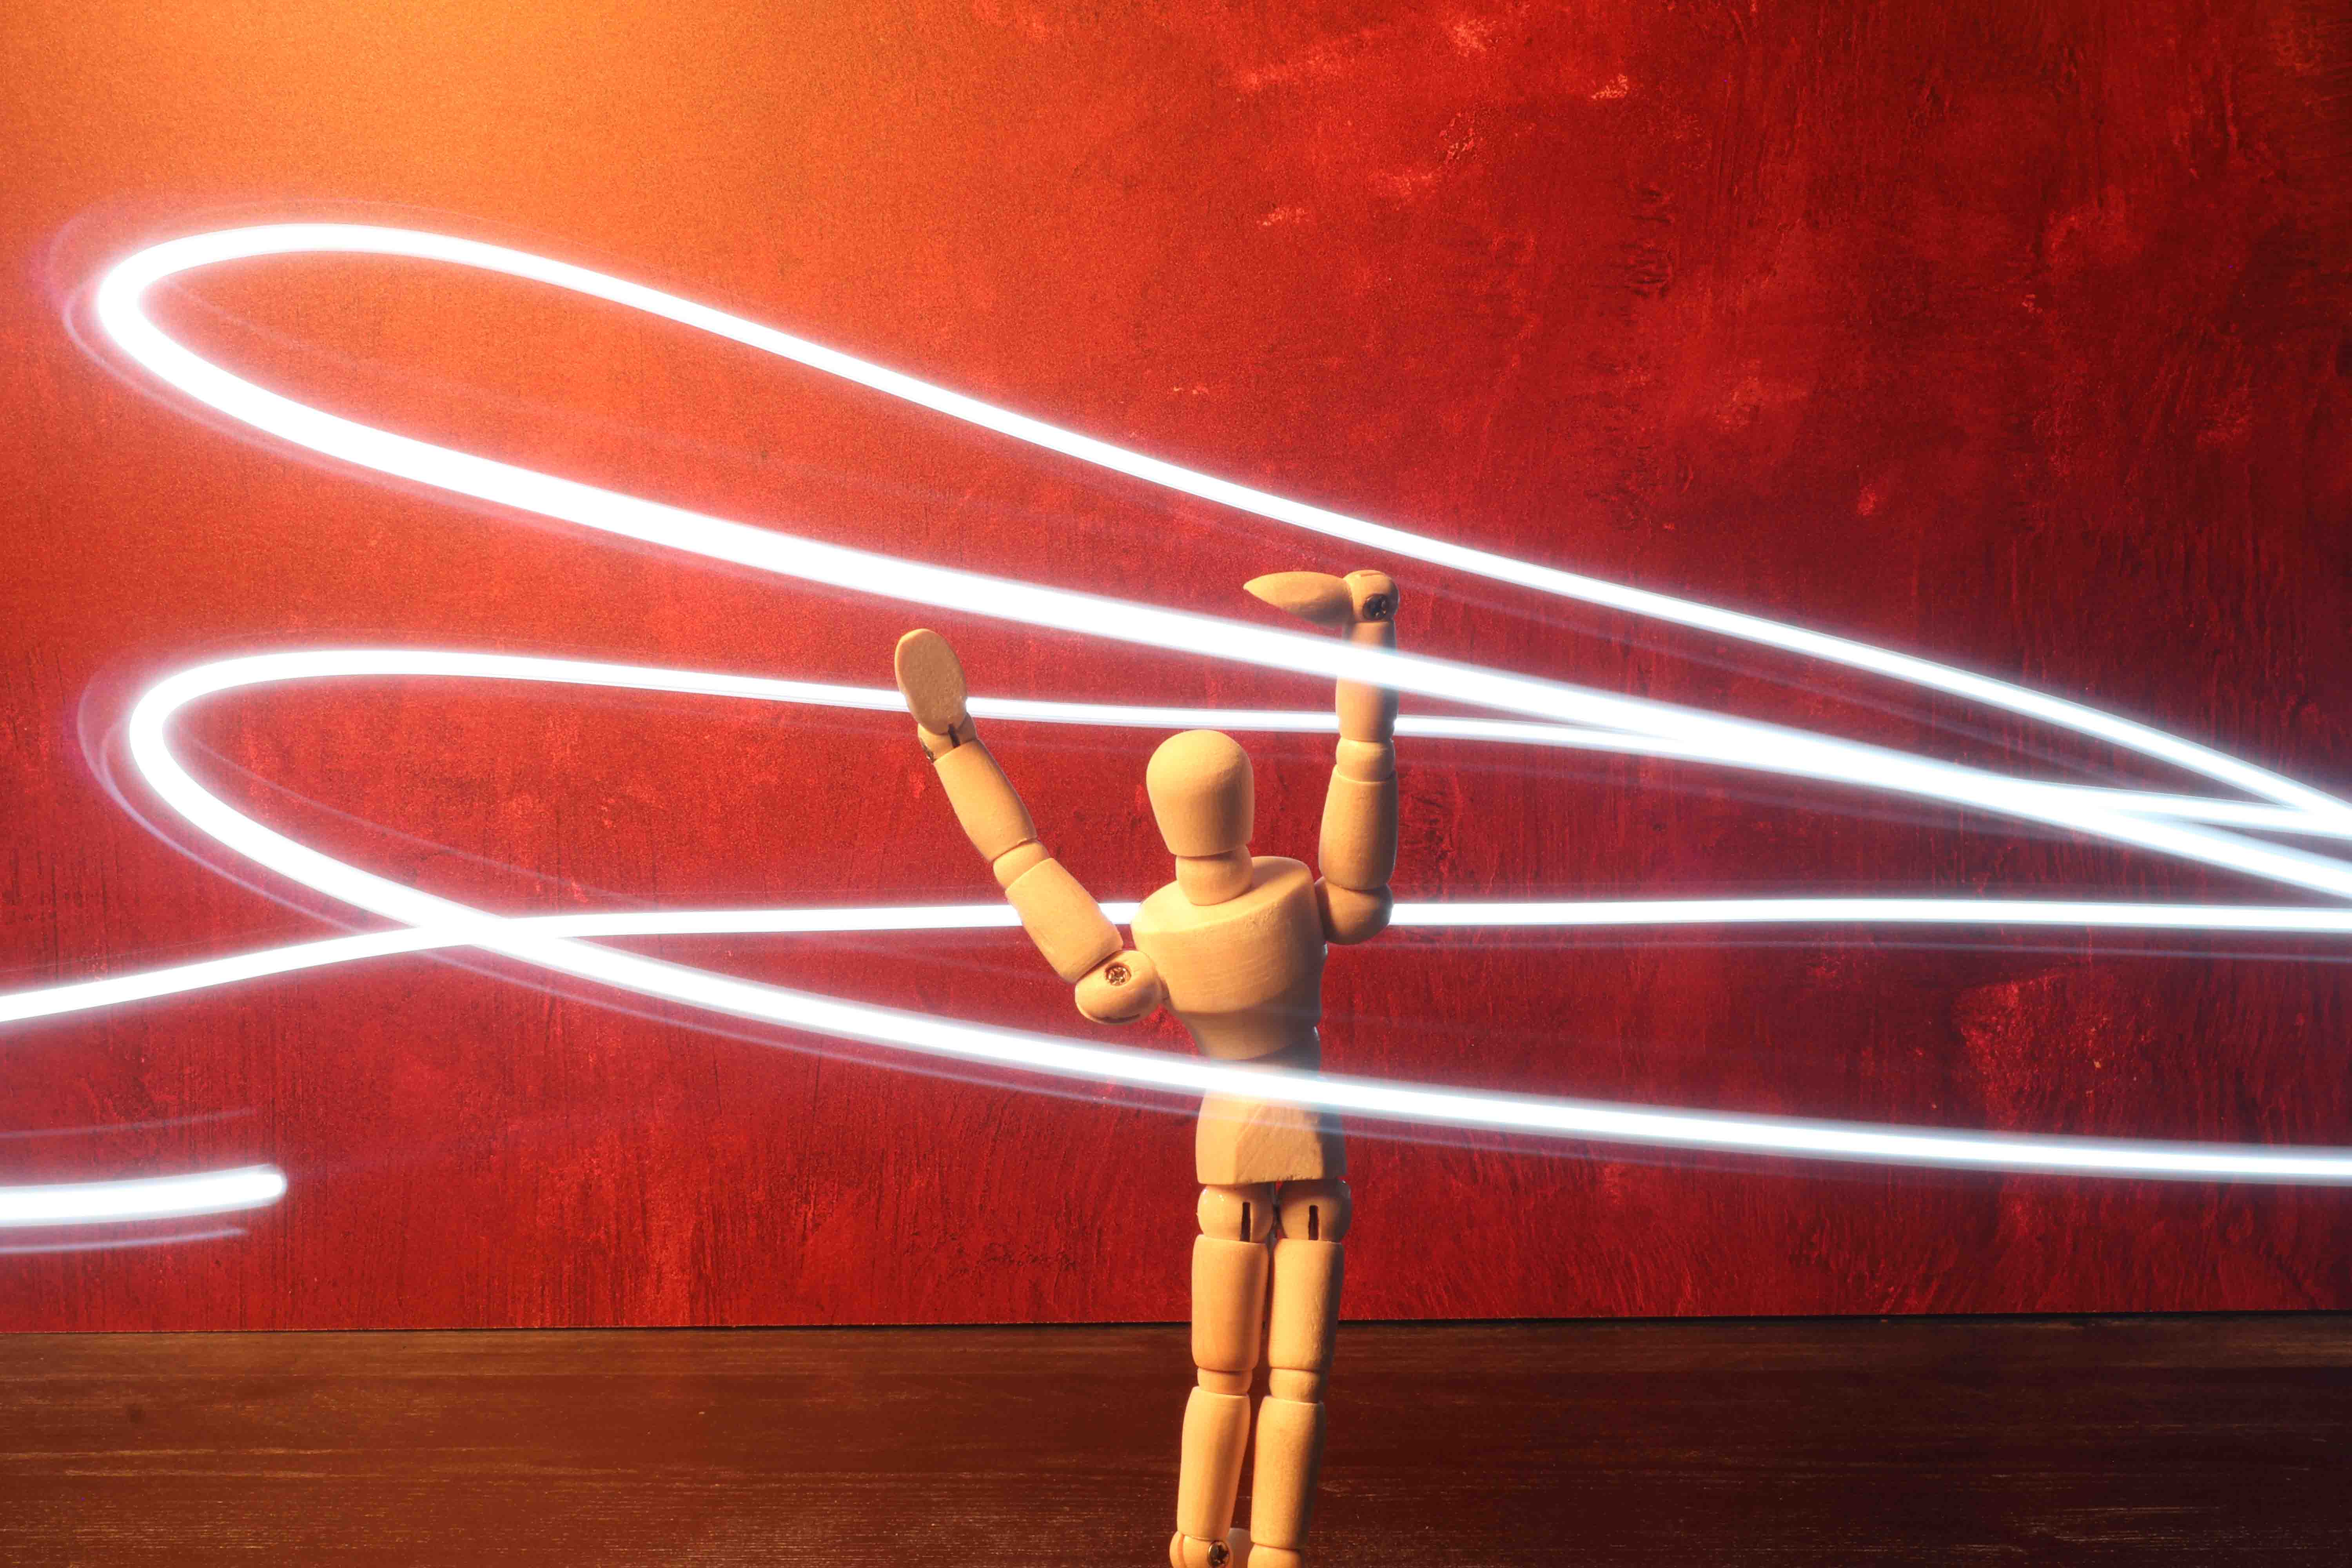
3. Mixed Lighting: Combining Both Techniques
Once students understand pin and broad lighting, they will want to experiment and combine the two. This is where your students will have the most fun, and the most commercialized version of this photography technique.
Mixed lighting uses visible light trails and selective illumination in the same photograph.
For example, students might illuminate a bicycle with broad lighting before drawing glowing circles around its wheels using pin lighting.
The possibilities are nearly endless, and students have to think carefully about how they will use their exposure time.
My Favorite Classroom Demonstration
Before students begin experimenting independently, I like to demonstrate how dramatically the direction of light changes the photograph.
This is one of those demonstrations where students immediately want to try the technique themselves.
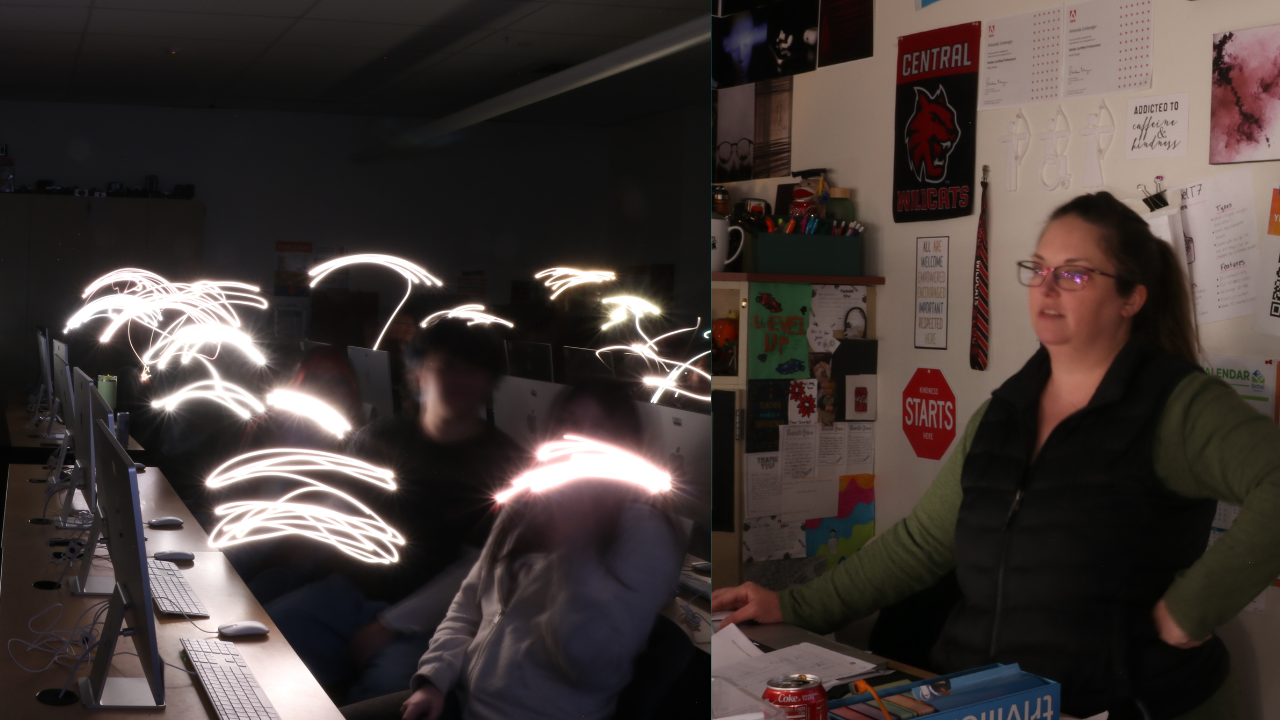
Round One: Point the Light Toward the Camera
First, I set up my camera on a tripod and turn off all the lights. I then ask students to take out their phones and turn on their flashlights.
I have the camera pointed toward the students and ask them to move their flashlights around while I take a long-exposure photograph. I usually have my camera tethered through Lightroom Classic to a screen they can see so they can see the result in live time.
When I show them the result, the photograph is filled with glowing light trails from their phones.
This usually gets a few shouts like "How did you do that?!" and "What?!?!"
Round Two: Point the Light Toward the Subject
Next, and still in the dark, I turn the camera toward myself.
I ask students to do the same thing. The camera is pointed away from them, so they are still pointing their lights in the same direction, but now I'm the subject instead of them.
As they move their lights across me during the exposure, the camera collects the reflected light. Then the image is revealed on the screen and it looks like the lights were on like normal.
You'll probably hear: "Why does it look like the lights are on? Is this a trick?"
Then I usually ask them: Why did we get two completely different photographs when we used the same lights and camera settings?
This opens the conversation about pin lighting versus broad lighting, but they don't really have the language for it yet, and that's ok!
I show them slides with examples from professionals, past students, and the definitions. They won't yet realize that light painting isn't just about drawing glowing shapes - because that's exactly what they want to try!
Classroom note: Always check students' accommodations and light sensitivities before darkening the room for this activity. In my club, I have an alternative lesson that I send students o the library to complete during these days for those who cannot safely participate. Avoid strobe effects, flashing lights, and directing flashlights into anyone's eyes directly. Do not allow students to use laser pointers, they can damage camera sensors and students eyes and are usually not allowed at school.
I also go over safety protocols very explicitly at the beginning of this activity and have security services on speed dial for any accidents, inappropriate behaviors, or medical issues and I make that very clear to all students.
Camera Settings for Light Painting
One of the biggest challenges for beginners is figuring out which camera settings to use.
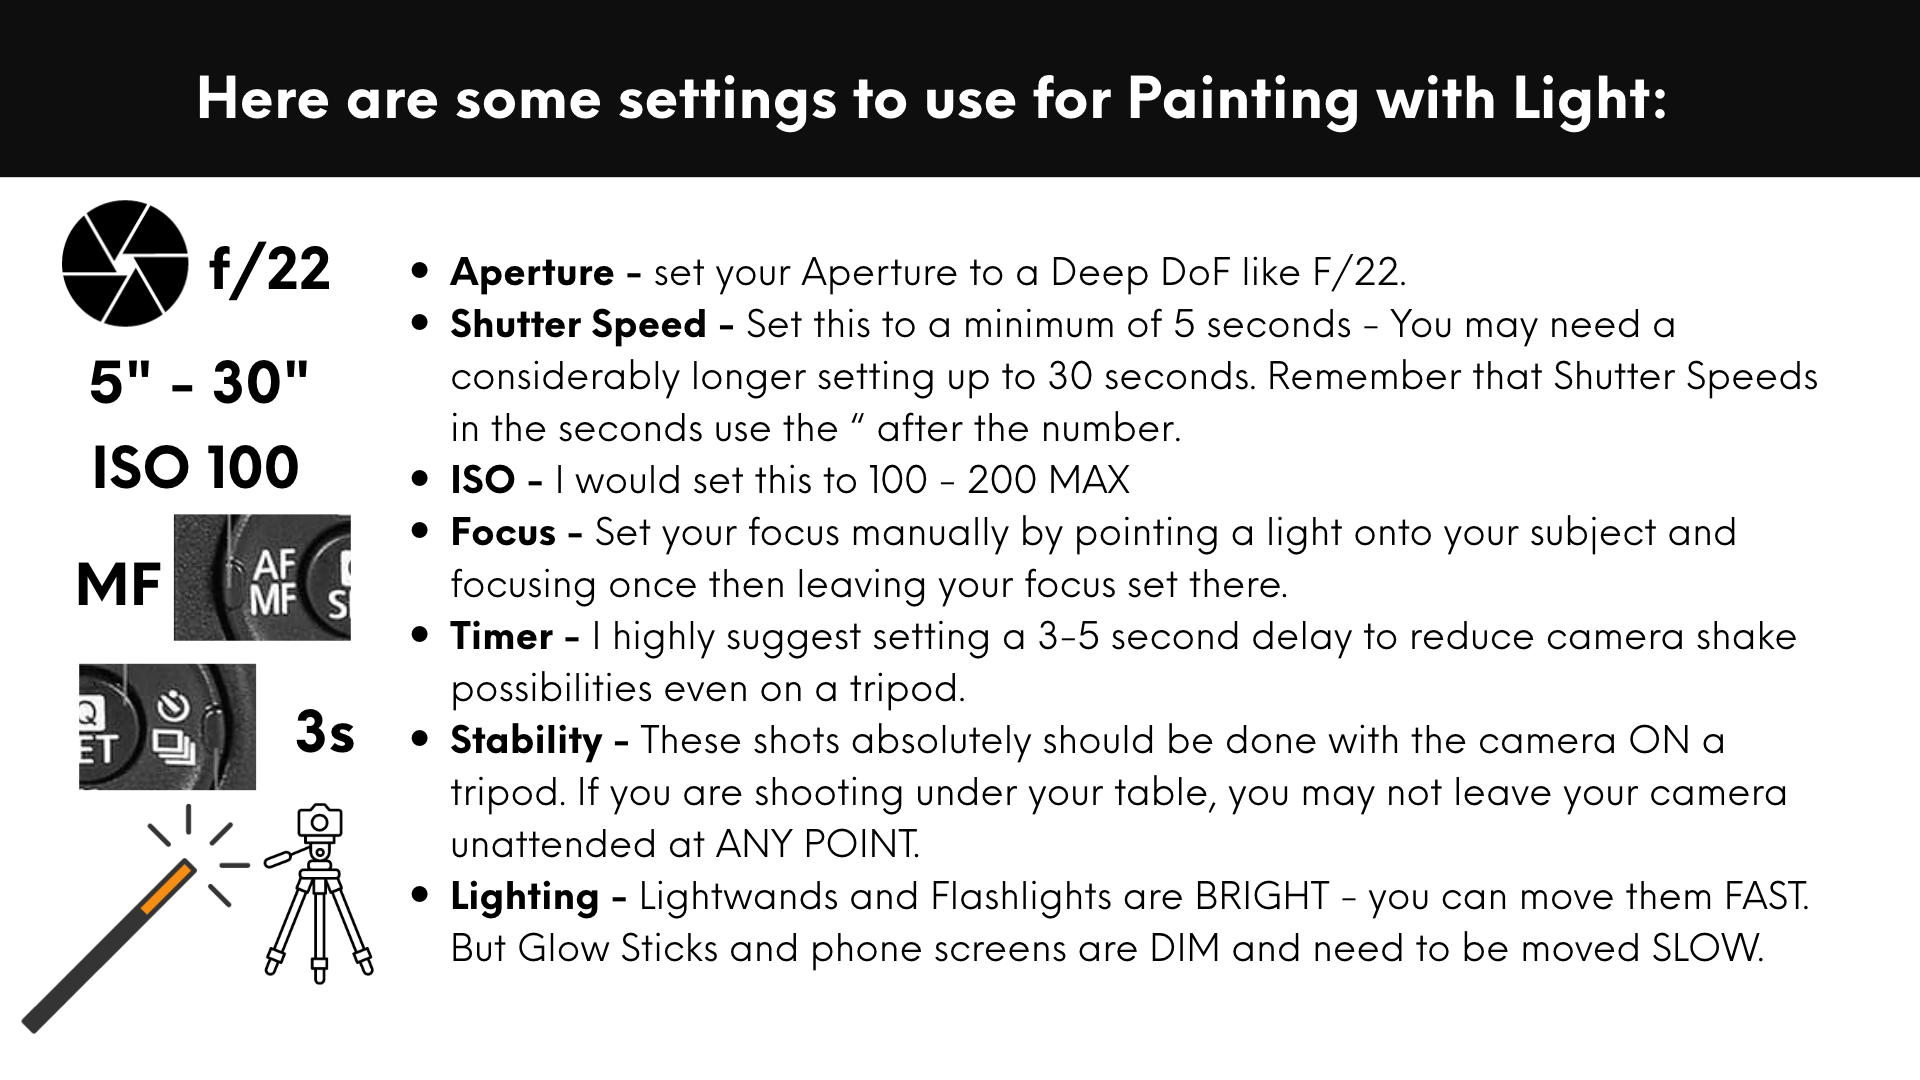
These are starting points, not universal settings. Students will need to make adjustments depending on the brightness of their flashlights and the amount of ambient light. If you have a room with lots of windows, black them out with curtains if you can!
If the image is too dark, I first recommend making their shutter speed longer to give them more time to add light to the image, then increase ISO or lower Aperture.
If the image is too bright, they should check their ISO and Aperture are set according to the starting points and then shorten their shutter speed or reduce the amount of light they use.
I also recommend using a two-second self-timer or remote shutter release to avoid moving the camera when the exposure begins! Remind students to also avoid touching their tripod and camera because they could move it and cause camera shake.
Tips for a Successful Light Painting Lesson
Start with simple shapes. Before students attempt complicated designs, have them practice drawing a line, circle, or heart. This helps them understand how the camera records movement.
Keep the camera still. A tripod is required for long exposures such as these.
Focus before turning off the lights. Autofocus will struggle in darkness. Students should establish focus while the subject is illuminated and then lock it if possible.
Experiment with light movement. A flashlight held in one place can create a bright spot. Moving the light helps distribute illumination across a subject.
Give students time to experiment. Their first photographs probably won't turn out exactly as planned, and that's part of the learning process.
Build in time for reflection. Ask students to identify what worked, what was difficult, and what advice they would give another photographer.
Connect Light Painting to Photography History
Light painting isn't a new technique.
Photographers and researchers have been experimenting with recording movement through light since the late 1800s.
Some notable examples include:
-
Étienne-Jules Marey and Georges Demenÿ: Early photographic motion studies using small lights to record movement.
-
Man Ray: Experimental light drawings, including his famous Space Writing photograph.
-
Barbara Morgan: Abstract light drawings exploring rhythm, energy, and movement.
-
Gjon Mili: His 1949 collaboration with Pablo Picasso helped popularize drawing with light.
-
Eric Staller: Created elaborate light drawings in urban environments during the 1970s.
-
John Hesketh: Experimented with selective illumination and unconventional light sources to create surreal long-exposure photographs.
These artists provide opportunities for students to analyze how light painting can be used for scientific documentation, creative expression, and visual storytelling.
Don't Skip the Reflection!
After students experiment with each technique, I ask them to complete a short reflection.
For pin lighting, broad lighting, and mixed lighting, students answer three questions:
-
What worked? What were you able to capture successfully?
-
What was difficult? What challenges did you experience?
-
My advice: What would you recommend to someone trying this technique for the first time?
I love this reflection format because students have to think about their creative process rather than simply turning in their favorite photographs.
It also encourages them to recognize that unsuccessful attempts are valuable opportunities to learn.
Why I Love Teaching Light Painting
Light painting is a great reminder that photography is about more than pointing a camera and pressing the shutter button. Students have to plan, experiment, troubleshoot, collaborate, and think creatively about how light interacts with their subjects. And because the results are so different from the photographs they're used to taking, students are often excited to see what they can create next.
If you're teaching shutter speed, long exposures, or creative photography techniques, light painting is an engaging way to bring those concepts together!
Don't have time to spend a couple days to a week doing this light painting photography lesson? Do a Demo Day Instead!
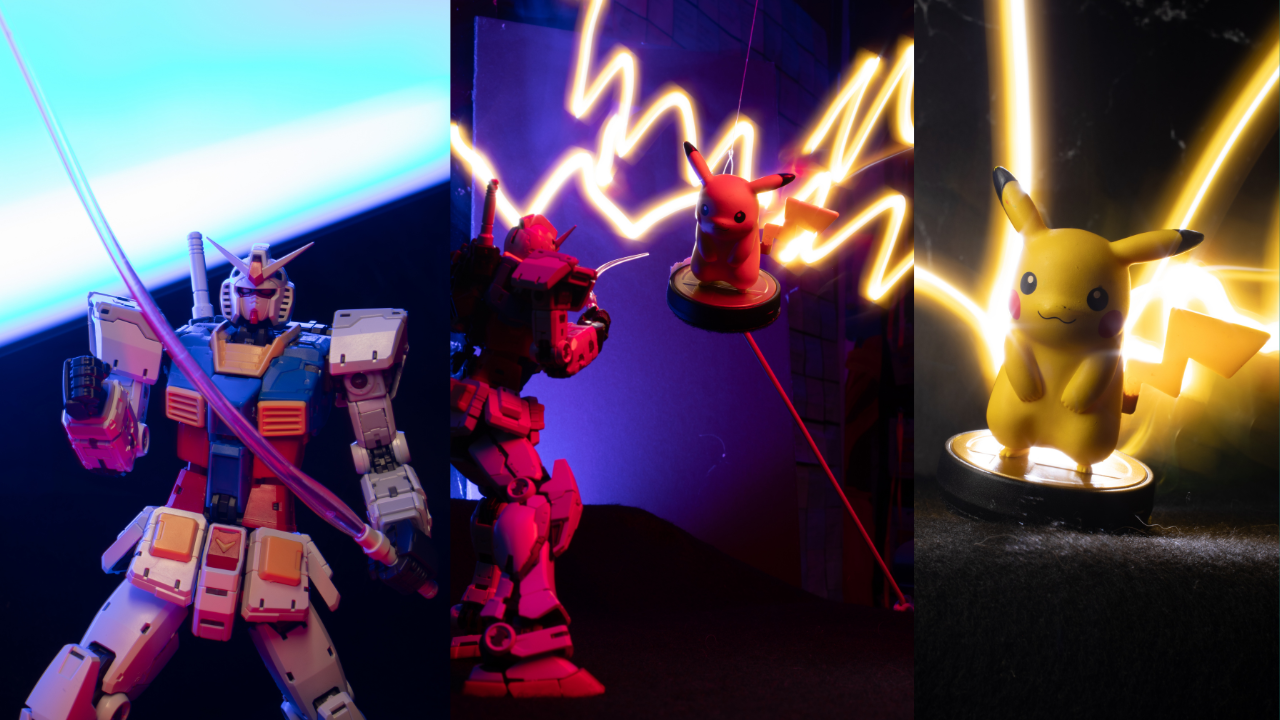
Still want to introduce this to students but don't want to spend too long doing it in class? Group up your students and have them develop a moodboard for the type of images they would want to try, then host a demo day where each group gets 10 minutes to come up and try to make their best image from their plans while tethered to a projector or screen that everyone can see. Have other students volunteer suggestions on how to improve the technique with each round! You'll be surprised at how many students participate in this live active critique!
Looking for more ready-to-use photography lessons?
Inside The Digital Media Teacher's Club, I'm building out my Photography curriculum with classroom-tested lessons, presentations, activities, and assessments designed to help teachers spend less time planning and more time creating with their students.