“What equipment should I actually buy for my classroom?”
May 24, 2026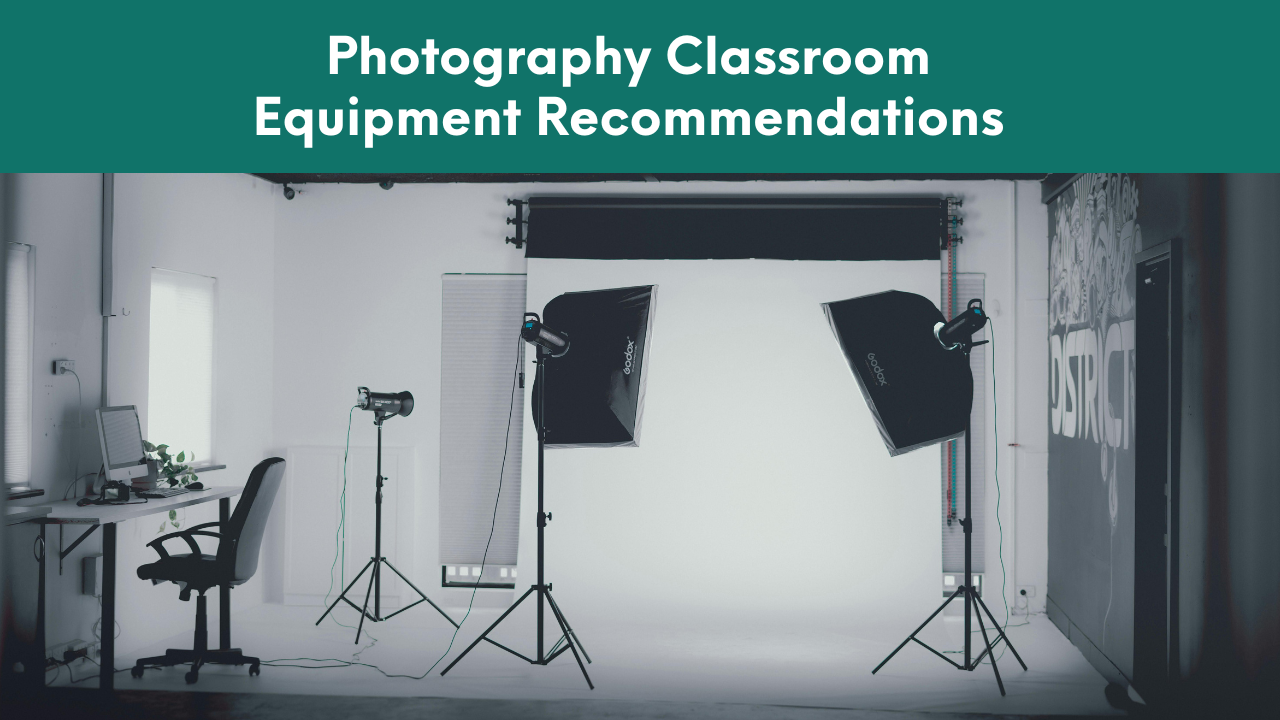
I see this question SO OFTEN!
And while I'd love to give a blanket answer, honestly, it depends on a few things, like:
- your budget
- your classroom space
- your student skill levels
- and what you actually plan to teach
The last one matters most because there's a HUGE difference between a basic intro to Photography class and one what will dive deeper into CTE structures and has the space to mimic industry standard studios. There's also a different need for those who teach yearbook classes, video classes, or classes that are more product studio vs portrait studio focused.
I've put together a giant list of links that include explanations as to what and why I recommend them, but I want to make it a little more clear before you open the document and go wild because there are some items that are worth prioritizing for different programs as well as things that could be skipped over if you don't have the budget.
Click here to check out the list!
Start with Cameras That Students Can Actually Learn On
One of the biggest mistakes I see schools make is spending the ENTIRE budget on camera bodies and having nothing left for lighting, storage, batteries, or lenses.
For most beginner classrooms, you do NOT need the most expensive camera, what you do need is a workhorse that is user friendly - especially if you have students who have varying skill levels or teach in multilingual classrooms.
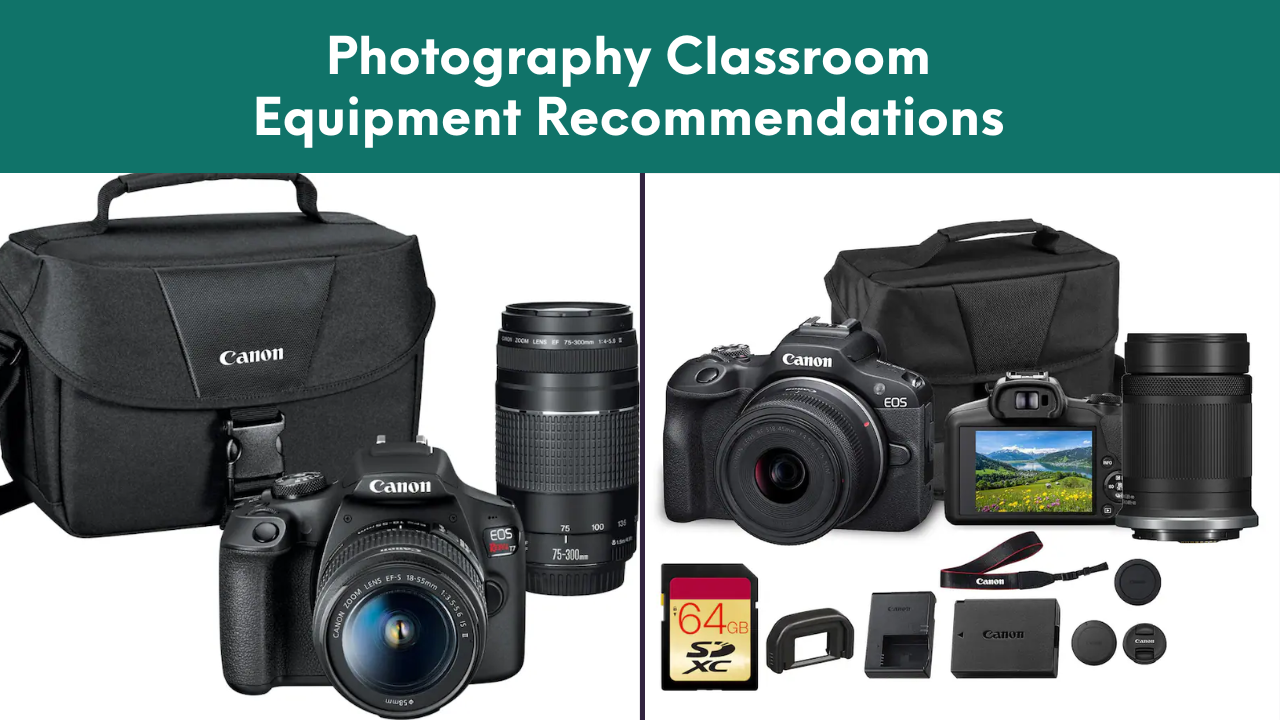
I highly recommend CANON Cameras - whether you can afford the R50 or R100 Mirrorless cameras, or the workhorse Rebel T7s - Canon is the most user friendly in my opinion (and what I use in my own classroom and with my own business).
To keep things simple (and affordable) - all of these cameras come with a kit option that come with 2 lenses - a basic portrait zoom lens and a basic telephoto zoom lens. Neither of these lenses are superb, but they are great for teaching your students how to use the cameras.
The kit lenses are completely fine for teaching:
- composition
- manual mode
- aperture
- shutter speed
- and basic portraits
Then later, if your budget allows, you can add specialty lenses for advanced students.
Click here to check out the list!
The First Lens Upgrade I’d Buy Every Time
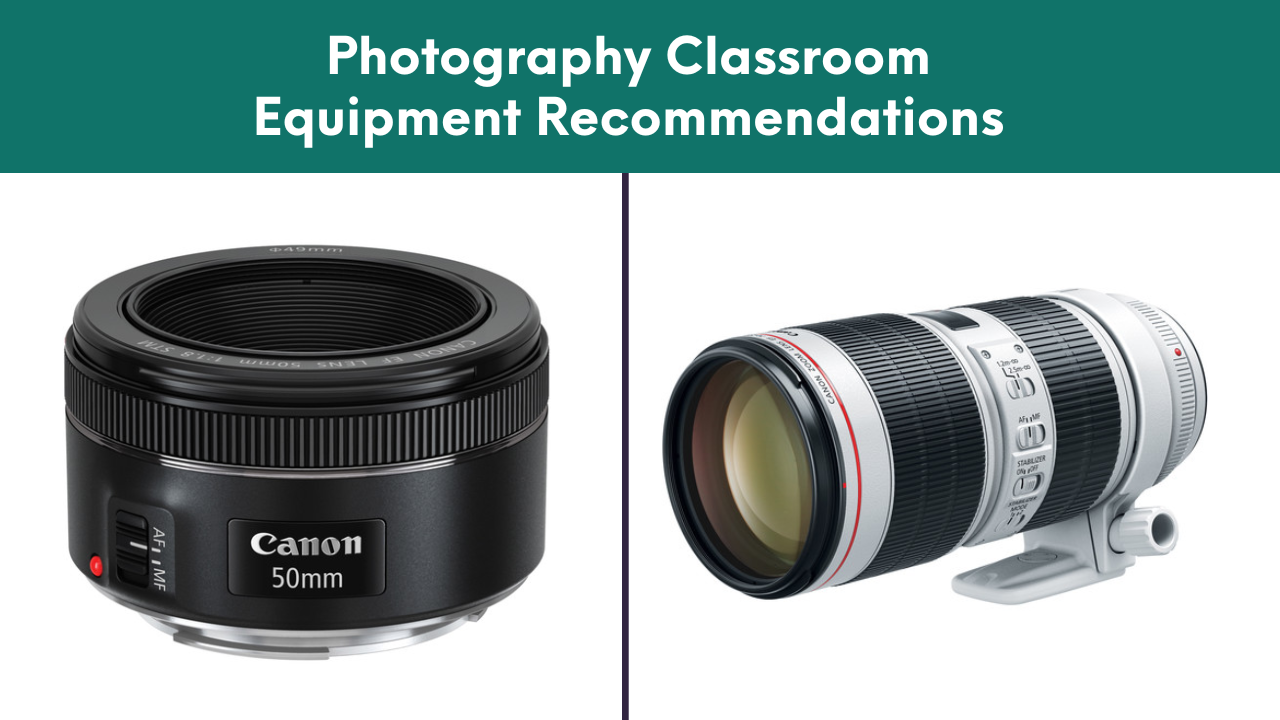
If I could only had a little extra in my budget for upgraded lenses for a classroom... I'd grab the 50mm f/1.8 lenses.
These lenses are usually under $150 per lens which makes them relatively affordable compared to most professional lenses, but they completely change how students understand depth of field and portrait photography because of their significantly large aperture option and the fixed focal length.
Using this lens, students usually go:
“Ohhhhh THAT’S how you get blurry backgrounds!”
And because it’s a prime lens, students are forced to physically move and think more intentionally about composition instead of relying on zoom.
Teaching Yearbook?
If you have a few students who are really interested in getting better shots or you need some students to capture incredible indoor or night time sports - you might want to grab a 70-200mm f/2.8.
This lens is EXPENSIVE but it is THE lens for sports photography - whether it's indoors in a darkly lit gym, outside on the football field under the falsely bright 7pm lights, or at the baseball field in the middle of the day.
Quick note on using this lens - you'll want a monopod - it's heavy! But, make sure you attach the monopod to the lens, not to the camera! Because of how heavy it is, if you have the monopod attached to the camera, you can put pressure on the connection and damage the camera body over time. The lens comes with a mounting ring for a reason, so use it!
Click here to check out the list!
Continuous Light Before Strobes
This one might be controversial in photography circles… But I strongly prefer teaching students with continuous light BEFORE introducing strobes or flash systems.
And if you're short on time for teaching and you want them to understand the fundamentals - this is truly the best way because students can SEE the light in real time.
They more quickly understand:
- direction
- shadow quality
- positioning
- and modifiers
It also creates a calmer learning environment for students who may have sensory sensitivities or conditions like epilepsy where repeated flash exposure may become an issue.
Once students understand lighting itself, moving into off camera flash and strobes becomes MUCH easier.
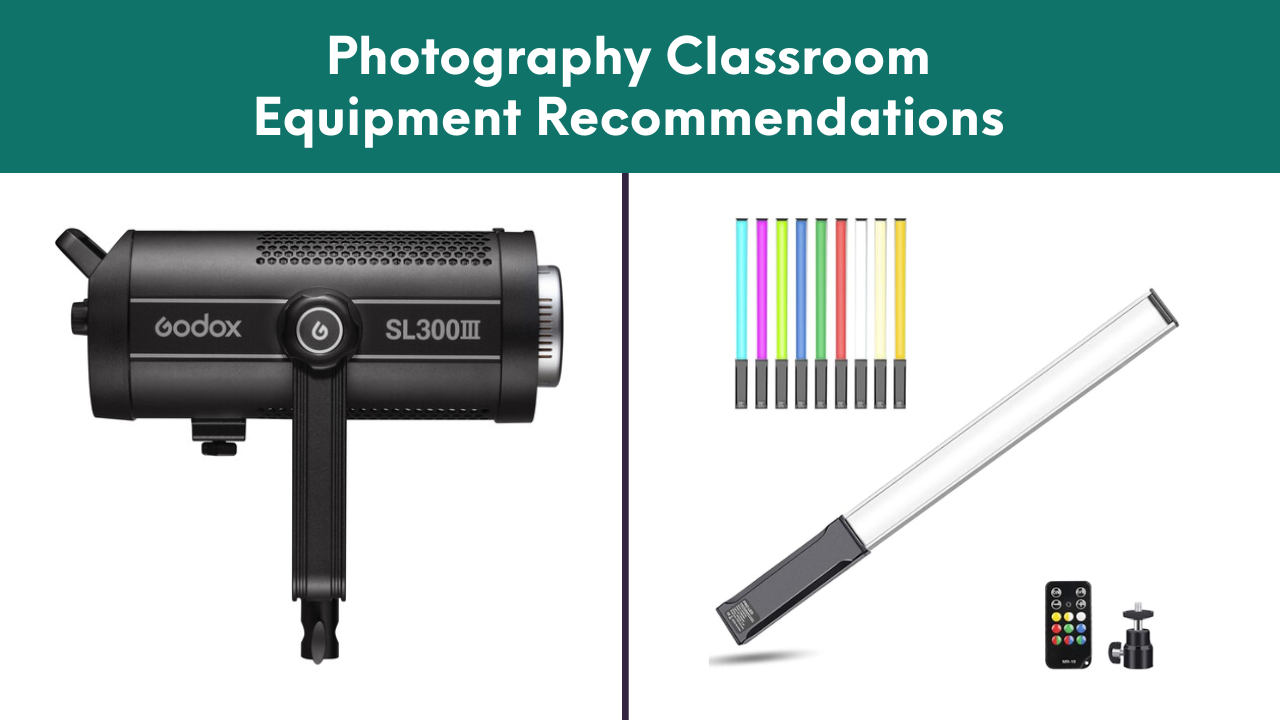
My favorite tool for this is actually a handheld wand light - it's AMAZING for product photography and portrait photography! With the multiple color options, you can make all sorts of fun portraits and advertising images and of course, this wand light is FANTASTIC for Painting with Light!
When it comes to studio lights - I LOVE Godox. Matches the look of Expensive Profoto lighting but far cheaper and lighter! You can get wired lights or battery powered depending on your space and your preferences (I love a portable light for shooting on the go and demos!) AND you can get lights that are continuous or strobe - plus the modifiers are SO easy to set up and tear down.
If you're sticking with natural light for a while - I highly recommend getting a box of 5 in 1 reflectors (you'll have so much fun making students open and close these) as well as a few pop up backgrounds (even MORE fun to watch students open and close!).
Click here to check out the list!
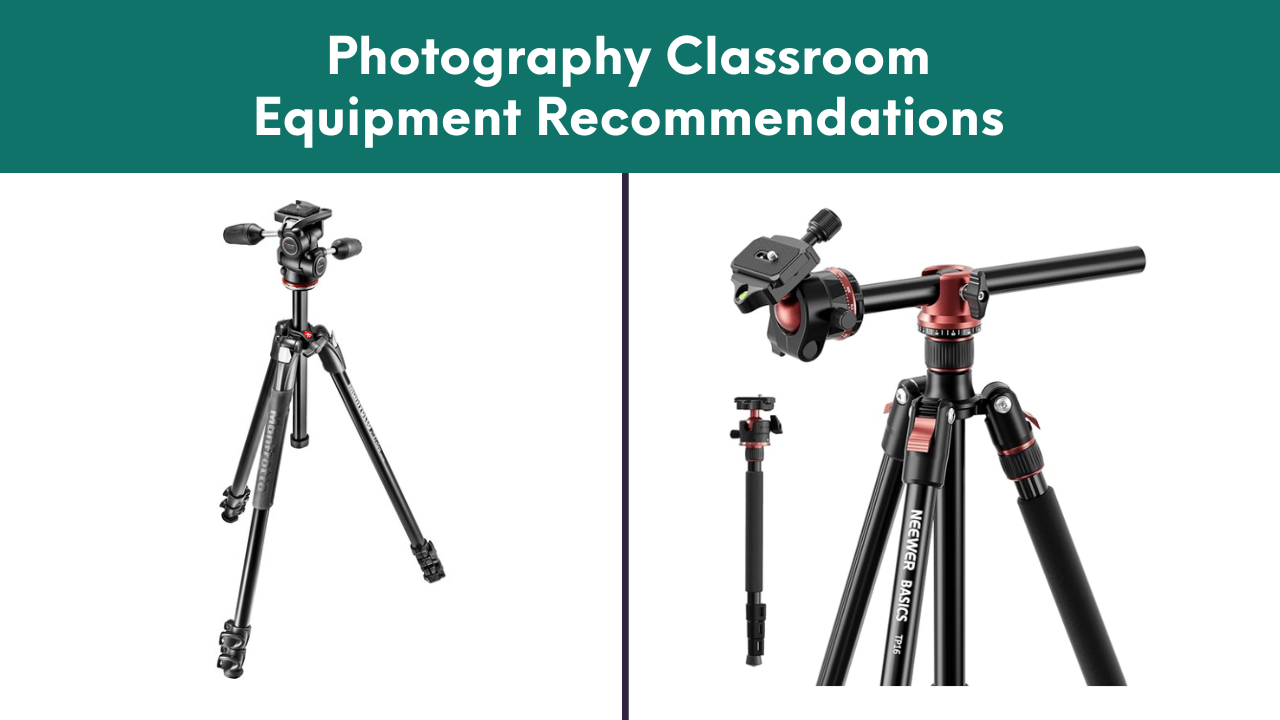
Cheap Tripods Usually Cost More Long-Term
I know it’s tempting to buy the cheapest tripod bundles possible so you can use your money elsewhere, I did that too when I started.
But honestly - I will never do that again - even if it meant only having one tripod for my entire class.
Cheap tripods either arrive broken or break quickly - and it's usually impossible to find replacement parts or fix anything on them. You just have to replace them entirely - and that adds up!
I’d rather have fewer quality tripods than a room full of broken ones.
The Manfrotto systems I linked are expensive upfront, but they last forever and can actually be repaired instead of thrown away. I've had my own personal Manfrotto tripod for over a decade now and only had to repair it once! These also allow you to pull them up and out to get overhead shots for lay flats and product photography - so they truly are THE best!
Click here to check out the list!
The Most Underrated Classroom Purchase
Maybe you already have enough cameras, lights and tripods - but how are your classrooms organized? How do you keep track of your small equipment?
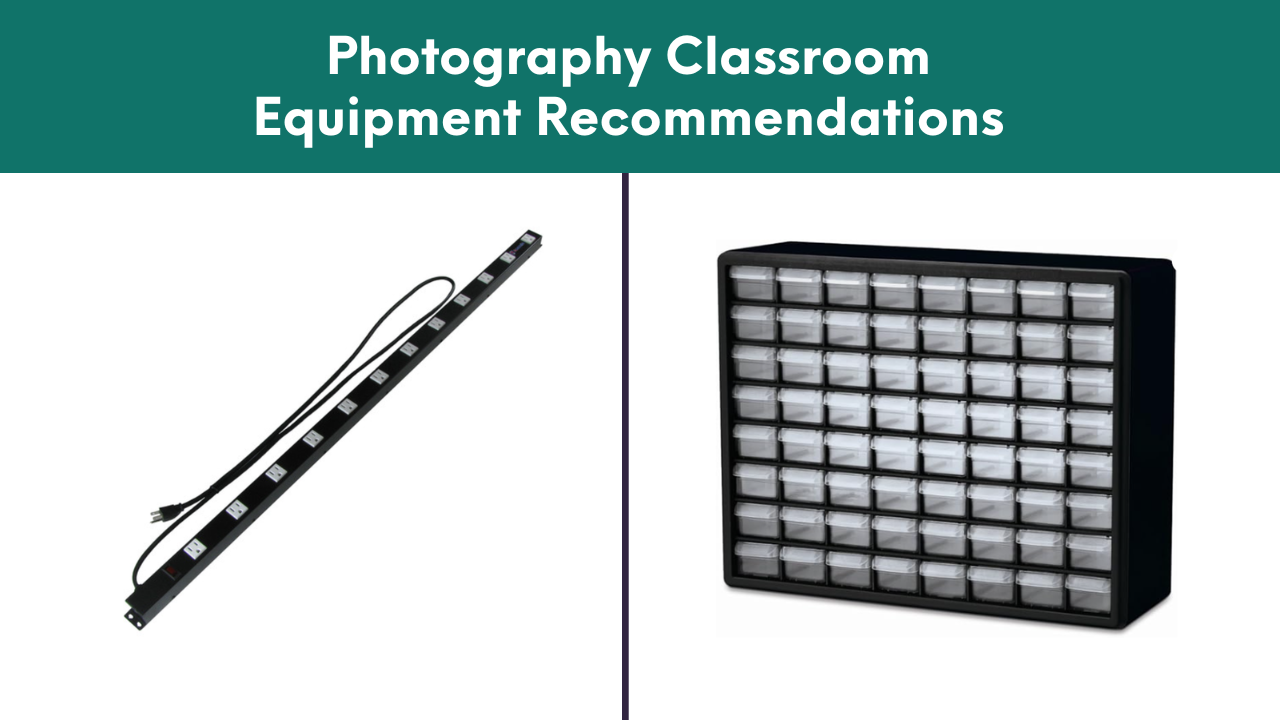
Storage may be the most underrated classroom purchase, but when I finally was able to get 1:1 with my students and SD cards? This drawer system that I linked in the document truly CHANGED my classroom workflow.
If you teach photography, you already know SD cards disappear - whether they got damaged, went home in a pocket, went through the washing machine, or just got misplaced. Having a numbering system and organized storage saves SO much time and frustration. I numbered every card and every drawer to match.
The other storage feature is the extra wide spaced power strips - these are the BEST for wall mounting your battery chargers! Number your batteries and chargers to match and if you can, match them with your cameras too. If a student is assigned to Camera 7, they use Battery 7 which is found on charger 7. If you only have enough SD cards to match the cameras - then they would also grab SD card 7 - if you have enough cards for each student to have their own, then they will always get the same SD card even if the camera number is different from their SD card.
Click here to check out the list!
My Biggest Recommendation Overall
Do not try to build the “perfect” studio all at once.
Instead, build intentionally. If you can only get a few items each year, start with:
- cameras & kit lenses
- extra batteries
- SD cards
- storage & power strips
- a few solid lights - whether continuous, off camera flash, or strobe
- and safety equipment (Turtle based C-Stands and Sandbags)
Then expand based on what your students actually use - and the fancy or fun props and etc later.
Final Thoughts
Your classroom does not need to look like a commercial studio on day one for your students to be able to create incredible work. Honestly, some of my students created their best work with foam boards, one light, and a reflector, and yours can too!
The equipment list I shared is not meant to be a “You NEED all of this.”
It’s meant to help you:
- Find items you can actually use - without wasting money
- Stay up to date with Industry Standards
- and prioritize equipment that actually improves your classroom engagement and your student work!
After teaching photography for years, I’ve learned something important - the right systems matter more than having the fanciest gear. And if you’re building a photography program right now, I hope this list helps make those decisions a little easier!
Click here to check out the list!