Logo Design: How I Teach the Digital Design Process (and Stop Getting Boring Logos)
Apr 19, 2025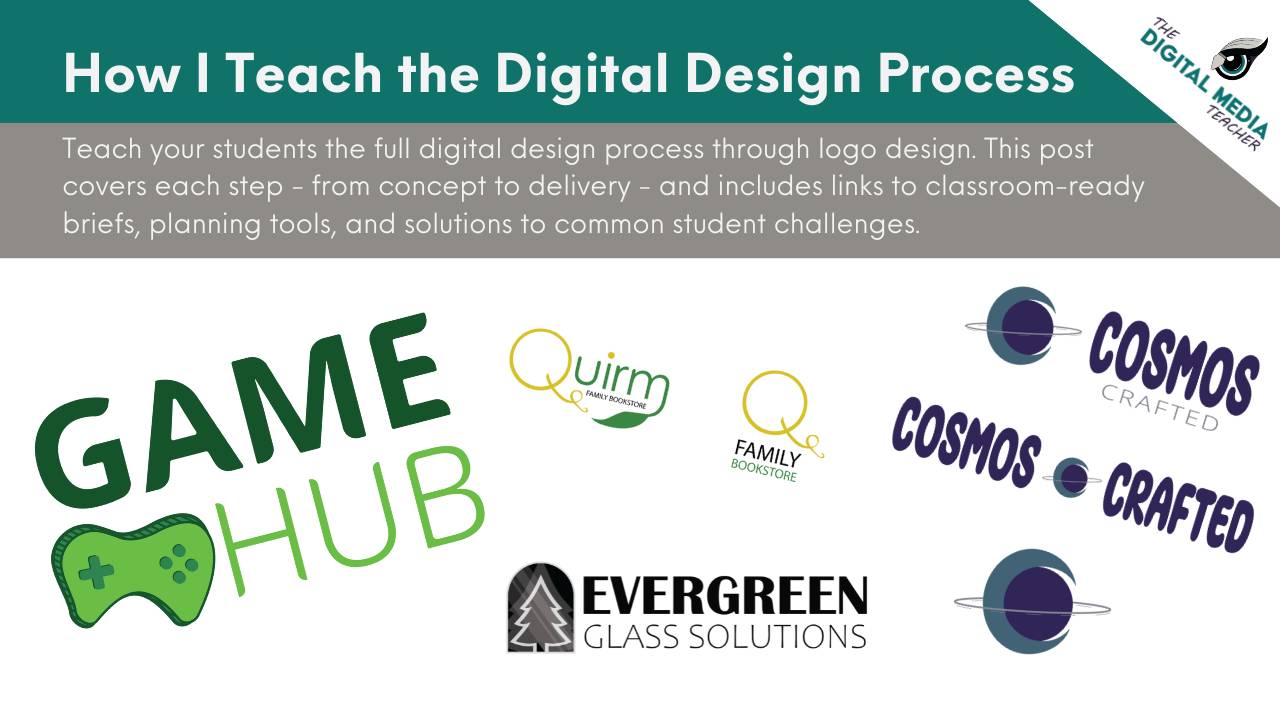
Let’s be honest... our students often SUCK at designing. They lack the ability to see beyond the first idea that pops into their heads or they don't think they are creative enough, or they just aren't confident in their own skills yet.
How many times have your students opened Illustrator, typed their brand name in Myriad Pro (auto font choice), added a random shape, and called it a day?
If you've been there, don't worry - so have I.
Teaching logo design in a high school classroom is one of the most exciting and frustrating things I do. On one hand, students love the idea of designing for a “real” brand. On the other, they often rush the process, ignore the brief, or make logos that feel… well… obvious. (If I see one more camera icon in a photography logo, I swear *eye roll*).
But I’ve learned that when students are taught to follow a true design process - one that is rooted in strategy, concept, and revision - they start making smarter, more creative, more intentional work. And that’s when the magic happens.
The Design Process
Before we break it down step-by-step, here’s the structure I use in my classroom when teaching logo design (and many other forms of design) as a real-world creative workflow:
- Communicate & Research
- Concept & Plan
- Design & Iterate
- Critique & Revise
- Finalize, Prototype, & Deliver
Note that the design process is inherently cyclical and doesn't often flow in a linear fashion. Students may find themselves needing to repeat a step or go back a step or two depending on how well they understand the needs of the client and communicate with the client (even if that client is a fellow student, you, or even themselves sometimes)!
Regardless, this process gives students structure and purpose - and most importantly, it teaches them to think like designers.
Step 1: Communicate & Research (Understanding the Client and Their Needs)
We start nearly every project with a creative brief. Whether it's a pre-written brief, a brief they fill out during class, or just a project request / description. This helps set the tone: students aren’t designing for themselves, they’re designing for someone else. The someone else could be you, a classmate, or even a real client!
Here’s the problem: students love to jump straight into designing. They skim the brief, grab a font, and jump into the platform with their very first idea (often unrelated to the client's actual needs) and much of the time, five minutes later they’re asking if they’re done.
Solution: We slow down. We read the brief together, highlight important phrases, and talk through:
-
Who is this client really trying to reach?
-
What words describe the brand’s personality?
-
What kind of visuals would fit and stand out?
By framing it like a challenge (not a checklist) students start seeing the logo as a solution, not just decoration.
Step 2: Concept & Plan
This is the step most students want to skip, but it’s where all the good ideas live. Before touching the design software, we walk through three key pre-production tools:
-
Mindmap – Brainstorming visual associations, values, and possible directions
-
Moodboard – Gathering visual inspiration like fonts, color palettes, and visual references
-
Morph Matrix – Sketching fast, exploring variations, and combining elements intentionally
At first, students roll their eyes. “Can’t I just start the logo?” "I already know what I want to do for it!"
But here’s the thing: when students commit to this step, their logos instantly become more original and less literal. They start sketching symbols instead of stealing them. They experiment. They think.
And that’s when they stop drawing the first thing that pops into their head, and start building something better.
One last sneaky step I've started adding in lately is Competitor Research. While I usually like to have the students look into competitors in the first step, sometimes they fixate on the competitor logos and try to create something that's just a knock off of what's already in existence. When they do their competitor research AFTER they do their morph matrix, it helps them see how well their design sketches line up to what's in the industry already.
I then ask them to think about:
- Does your design fit into the industry?
- Does it stand out (in a good way or a bad way)?
- Does it showcase the personality of the brand?
Sometimes this gives them an added opportunity to sketch out a few more ideas before they dive into the software, other times it helps them feel more confident about their current direction and gives them some talking points to use when communicating their ideas to their client.
Step 3: Design & Iterate
Now we move into software - usually Adobe Illustrator or another vector-based program (because logos need to scale and no matter what adobe's photoshop test tells you, you shouldn't be creating professional logos in a raster design software like photoshop or procreate). And yes, this is the part they’ve been waiting for.
But instead of designing one logo, students are required to create multiple iterations. Why?
Because the first version is rarely the best one and because I want to see how their design brain works. I explain to students that the iterations do not need to be completely different designs, but if they finish their first version and then they think... I wonder what that would look like with a different color? Or they want to try a different font, or change the angle of part of the logomark, etc.
They experiment with layout, color, type, and spacing—and they learn to evaluate their choices based on the brief, not just aesthetics.
Step 4: Critique & Revise
Now, you can add in critique in every step of the process (and I often do), but the most important critique is the peer critique before it goes to the client for review before finalizing the designs.
Students can be sensitive to critique, specially if they only ever hear negative commentary, but once they understand that design isn’t about them - it's about the client's needs, it gets easier.
We hold short critiques where students:
-
Present their designs and explain their reasoning
-
Offer clear, brand-focused feedback to peers
-
Learn that revision is part of the process, not a punishment
This is also where students start to feel proud of their work because they can see how much it improves through iteration. This is also where you get to hear their confidence start to level up. I also like to remind students that just because they are given feedback, doesn't mean they HAVE to make those changes. If they can defend their position with their research, they can educate a client and help them make the best decisions.
Step 5: Finalize, Prototype & Deliver
In the final stage, students polish and prepare their logo designs like they’re delivering it to a real client. That means:
- Creating multiple variations (Horizontal, Vertical, Square, Favicon, etc)
-
Saving their files in proper formats (Ai, for Web, & for Print)
-
Creating grayscale and color versions for proper platforms (Web and Print)
-
Assembling a pitch deck or presentation to explain their work
-
Optional: placing the logo into mockups to show how it would look in the real world or creating actual prototypes of products with the logo
This is the step where they realize: I made something real.
The Takeaway
If your students are rushing, copying, or defaulting to the obvious—it’s not because they don’t care. It’s because they haven’t been taught how to think like designers yet.
By walking them through this process step by step, you’re teaching more than software skills. You’re teaching:
-
How to interpret a real-world brief
-
How to brainstorm with purpose
-
How to revise and reflect
-
How to create work they can be proud of
And that’s the kind of learning that sticks.
Want to Try It?
I’ve created classroom-ready tools to help you introduce the design process without having to start from scratch:
- Multiple Sets of Creative Design Briefs to guide logo design at different levels - Beginner and Intermediate Briefs
- A Morph Matrix lesson & activity to help students explore and combine visual ideas
- My Design Process Poster available as a digital and printable poster
- MyLogo Design BUNDLE - including my brand kit pitch deck Canva Template!
Want more helpful resources made just for your classroom? Check out the rest of my TPT store!